100% Organic Cotton Fabrics
For home sewers, businesses, retailers, and anyone who gives a scrap!
 finished sketchbook One of my goals for the year is to do one quick sketch every day. Instead of buying a sketch book, I decide to make one out of things I had around the house. First thing I did was find some paper that was blank on one side and a thin cardboard box. We have plenty of both. I started by cutting the side of the box off. 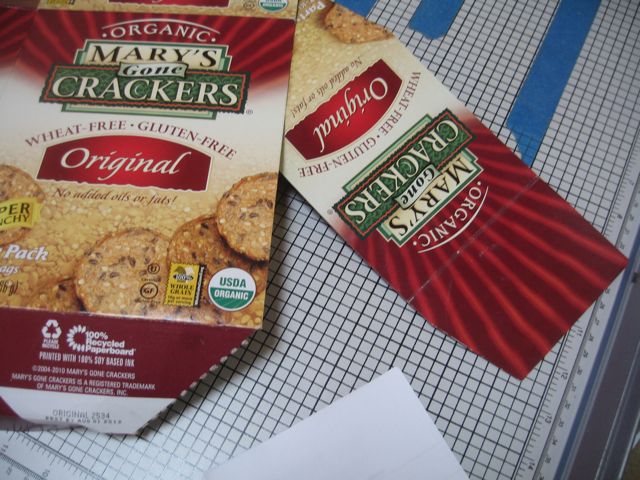 The side panel seemed like a good width so I just chopped along the seams. Next I cut the paper so that it would be slightly thinner than the width of the cardboard strip. In my case that ended up being 3.66" wide. 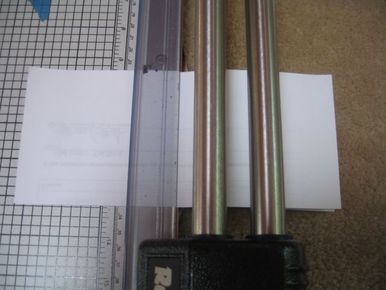 By cutting those strips in half I was able to use the entire piece of paper with no waste. I ended up with a stack of paper all the same size. In my case the pages are 4.25" x 3.66" but you could make your pages any size you like. By cutting them this way I was able to get 6 pages per 8.5" x 11" piece of recycled paper.  Next, I stapled my stack of paper to the center of the cardboard strip. I used the existing fold line since I knew I wanted to create a cover that would fold over the paper. I debated which side of the paper to staple but ended up going with parallel to the cut edge of the cardboard. I stapled 2 corners of the paper stack. I have a pretty strong stapler so I was able to go through all the sheets + the cover. 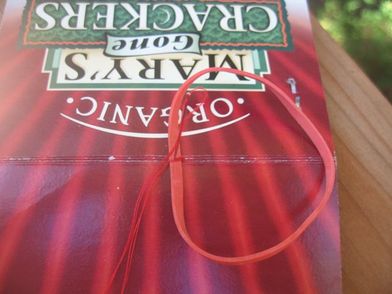 Next, I knew I wanted to have a way to close the book so I decided to sew on a rubber band. Honestly, the hardest part of the project was picking what colored rubber band to use. As you can see I ended up opting for red. I simply used a needle and thread to sew the rubber band to the cardboard. 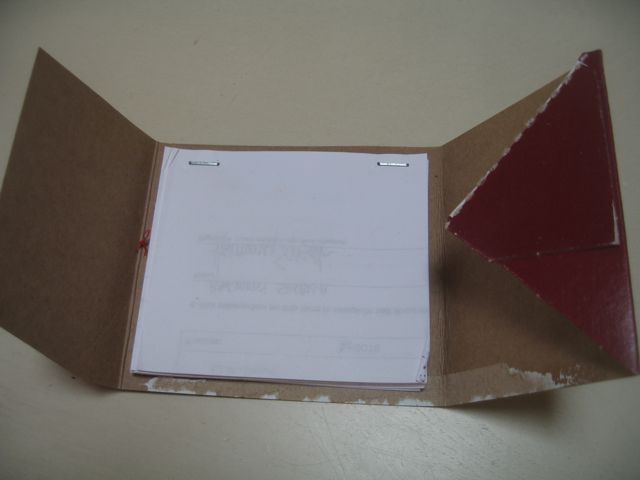 open 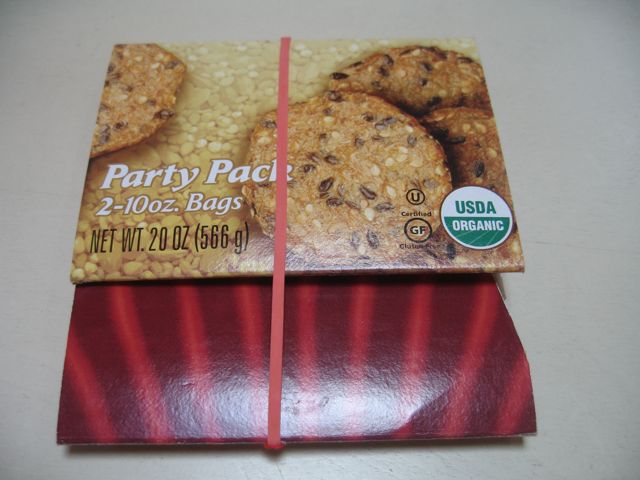 closed Here it is finished and closed. I am happy to report that 4 months into the year and I am still doing a sketch most days. The size is small enough to fit in my back pocket and the cardboard cover keeps the pages from getting mangled as I tote it around. I love the way the organic label and text ended up on the cover. It was kismet. You can make them as fancy or utilitarian as you like. Here are a few more photos of other more fancy recycled sketchbooks that my friend Nancy and I made. In these examples (below) instead of cutting and stapling we folded the paper and Nancy used a heavy needle and thread to hold the pages in. The possibilities are endless! 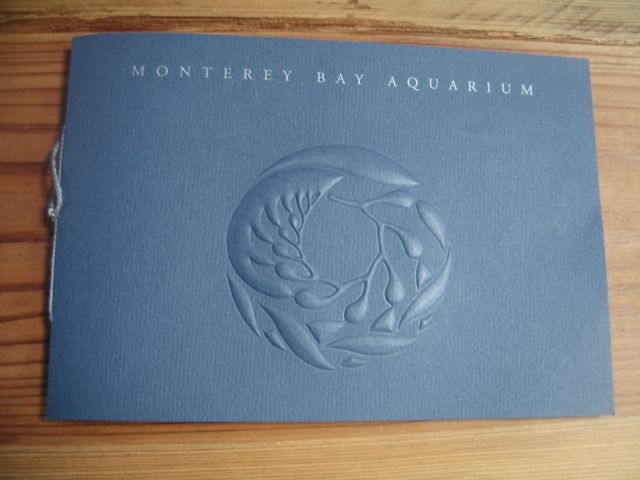 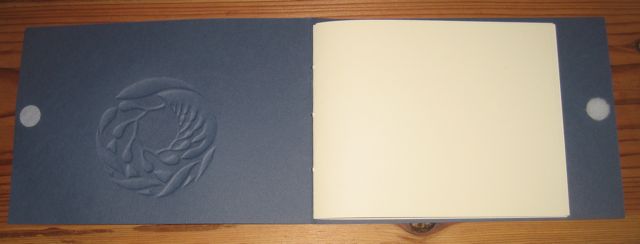 A velcro dot was used to close this one. 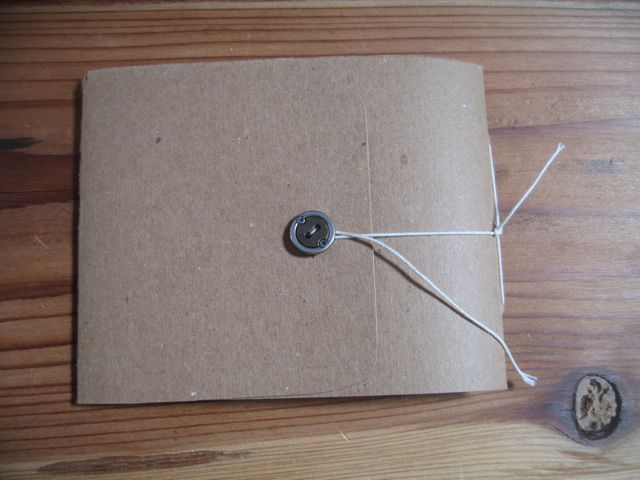 I love this button clasp.
3 Comments
When you’re a complete fabric junkie like I am, you’re always looking for a bargain. Of course, my eye is drawn to gorgeous designer fabrics with really high thread count. Swoon! But the cost—well, that can bring on a real fainting spell. That’s why I started out sewing with fat quarters. I found fabrics that I loved—and could easily afford—and figured out really cool things I could make with them. Little, zippered change purses, box-bags for balls of yarn and knitting needle rolls. I sewed and sewed and sewed. And I was very happy. Until I started eyeing my bare windows and mismatched sofa and side chairs. If I could make all of those little things, I could make big things—like curtains and slipcovers—too. But cotton fabrics are generally 40”, 54”, 60” or 72” wide. And that meant I was buying a lot of fabric. That’s when I met decorator fabrics. And then I found HarmonyArt. These babies come in 110” widths—plenty wide for the 98” long drapes I had planned. And you can’t deny that Harmony’s designs are gorgeous. Perfect for curtains, tablecloths, slipcovers, and heck, if I quilted, even quilts! The prices were much higher though. Compared to the $15-$20 per yard I was used to paying for designer cotton fabrics, 110”-wide fabrics were at least $25 per yard. It was time to do a little math. I wanted to dress three windows in my new living room. I drew this sketch to figure out the math. 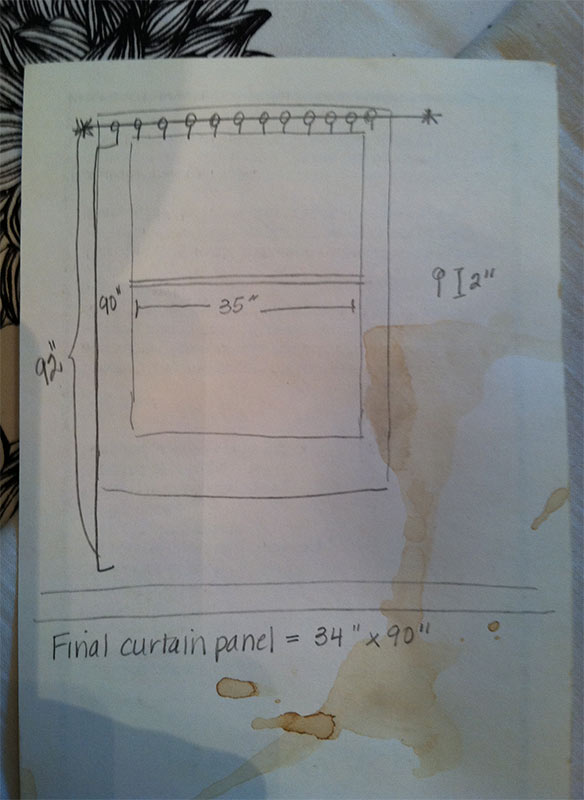 Yes, that’s coffee on the sketch. It was a Saturday morning, and I wasn’t quite awake yet. The little circle things are clip rings that I wanted to use to hold the curtains onto the rod. With 110” of fabric, I could make do with one yard per panel. (It’s not as wide as the experts recommend, but with the rich design, I decided it would look terrific.) 2 panels per window 3 windows 1 yard of fabric per panel 2 x 3 = 6 panels 6 yards of fabric total I chose the Evelyn design from HarmonyArt’s collection, which is $28.80 per yard at Stitch Simple. $28.80 x 6 yards = $172.80 (I’m ignoring the tax and shipping costs here—because I have to pay them no matter what width fabric I buy.) How much of the 54”-wide fabric would I need to make the same curtains? That’s going to require more math. If I want each panel to be about 36” by 110” (before they’re sewn), I would to need about 3 yards per panel. Here’s why:
110” ÷ 36” ≈ 3 yards (that wobbly, little equals sign means “approximately”) So I’ll need 3 yards of fabric per panel. And I’ll have lots left over. In fact for each panel, I’ll have a 3-yard strip of 18” wide fabric left over. 54” – 36” = 18” (I could sew up those leftover to make one panel, but let’s face it—that’s a lot of work, and it’s not as good looking.) How much 54”-wide fabric will I need for all 6 panels? 6 panels x 3 yards = 18 yards And let’s say I’ve found a great sale on the designer fabric I love—$14 per yard. What’s the total cost? $14 x 18 yards = $252 Yikes! Even though the 110”-wide fabric is much more expensive per yard, I’ll be spending a lot more for the 54”-wide fabric. $252 - $172.80 = $79.20 The lesson for me? While the 110”-wide fabric is more than twice the cost per yard, it’s the better deal for this project. The same could be true for slipcovers, skirts, pillows and yes, even quilting. It pays to do the math. (See? These are my new curtains!) 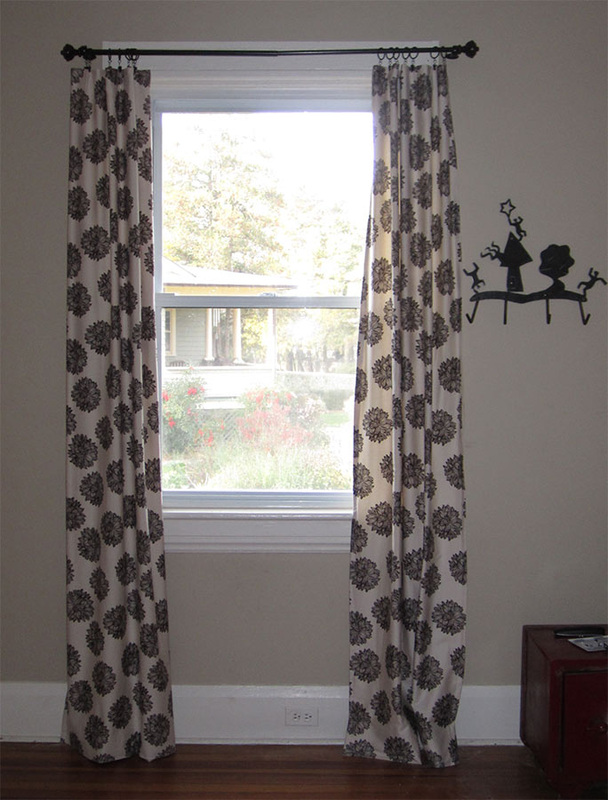 Thanks Laura! Laura is the author of the fabulous book Math For Grownups. She has a great companion blog dedicated to showing us ways math can be useful and handy. You can check out her post from Monday which is an interview with yours truly. If you check back on Friday (Nov. 18th) she will be posting a how-to about sewing the curtains above. Enjoy!
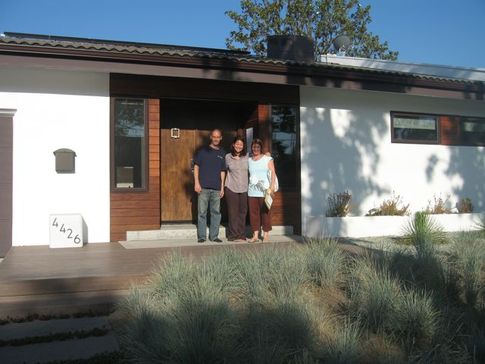 In Studio City there is a house - not just any ordinary house but one that has been remodeled to take advantage of existing green technology. Last year I had the pleasure of visiting the Zenergy house and meeting the inspiring owners. Their mission: to help homeowners recognize what truly determines a green home and to provide a roadmap for creating thier own ZENERGY HOUSE. You can get a virtual tour by clicking this link. The web site is full of useful tools and tips.  We were thrilled when they asked to use our Evelyn organic sateen in their sitting room. What have you done to "green" your home?
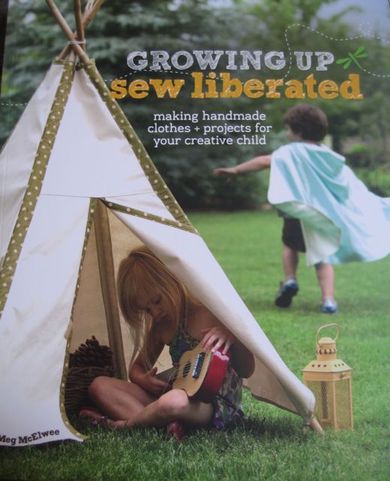 We returned from our road trip to LA to find a complimentary copy of this book had been delivered. Why the excitement? 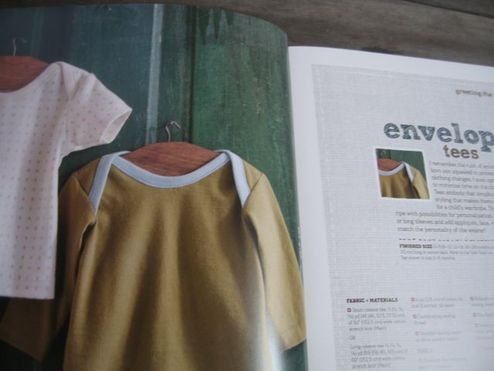 There it was on page 9.... our organic cotton interlock print: Alphabet Soup. 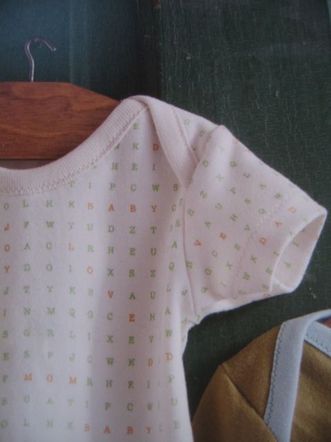 Thank you Meg McElwee for choosing to use one of our organic knits in your book! It is always thrilling to be featured in books, blogs, articles, newspapers, etc. We have been very fortunate over the years to have been featured many places but there is something that makes it even sweeter when the organic content is a footnote rather than lead story.
To learn more or to purchase your own copy of Growing Up Sew Liberated just click. Thank you Elisabeth Malzahn & Elaine Lipson from Interweave Press. Thank you Jen Madsen for bring this to my attention. I have an odd shower. It is the width of a tub shower but extra tall since you step down into it. Finding a shower liner has always been a bit of a challenge. I refuse, I mean REFUSE to buy a vinyl shower curtain. (True confessions: in my previous life I use to design them. When the samples would arrive at the office you could smell them for days. I knew then it was not healthy. At that point in my life, I didn't realize how unhealthy.) I am not a particularly crafty person but when our shower needed a new liner I decided there had to be a non-vinyl solution. . . I considered fabric but was concerned about mold, didn't want any creepy finished fabric, and didn't want polyester. I decided to create my own Tyvek® shower curtain. Tyvek® is that material that the USPS priority mail bags are made out of. They are cradle to cradle silver certified. They are made partly from recycled plastic milk jugs and water bottles in a closed loop system. I sewed two pieces together to make one wide and long enough piece. I folded one side over and sewed a section at the top. I thought I would need to add grommets but discovered a simple hole punch did the trick. There are no seams on any of the other 3 sides so water runs right off and nothing gets trapped. No fraying. About 6 weeks into the experiment and it is working really well. I think I will even be able to throw it in the washing machine if it needs freshening. 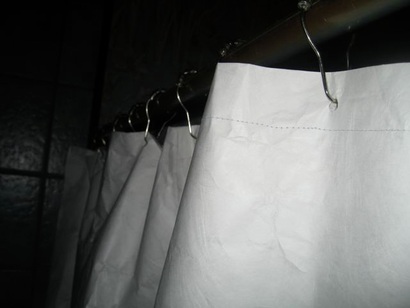 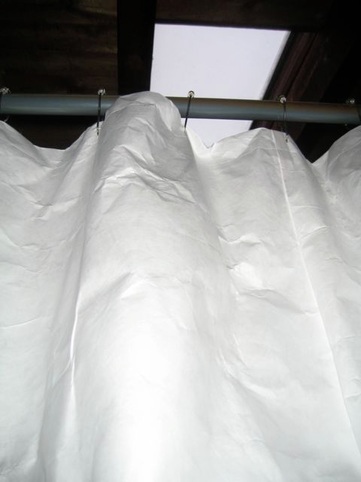 The one small draw back is that it is a bit loud! No, it isn't as LOUD as the SunChip compostable bags and frankly I will take a bit of noise getting in and out of the shower over breathing toxic, cancer causing fumes.
Unlike here in the USA where Frito-Lay caved to complaints of their compostable bag being too loud, the Canada division is standing their ground. Three CHEERS to our SunChip neighbors to the north. The company's campaign slogan is: "Our bag is loud, our bag is different, our bag is good for the environment, and our bag will remain on store shelves." 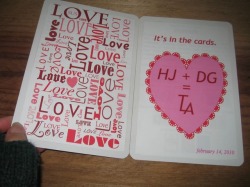 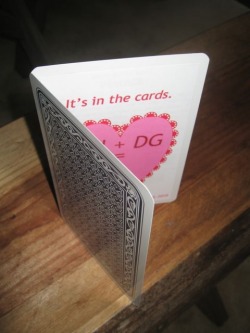 My husband and I started dating on Valentine's Day 18 years ago. That fateful day, we exchanged hand-made cards. Since then, it has been a tradition to make each other a Valentine's card (No gifts, but a HAND-MADE card is a requirement!)
Here's a peak at the one I made him this year. I love my jumbo playing cards. They came with about 5 extra cards that promoted their other products. I decided to re-purpose two of these extras into this year's Valentine. I designed it in the computer, printed it out and then used my handy Xyron machine to turn the printouts into giant stickers that went right over the advertisements. I thought it came out pretty cute. After the cards have been out on display for a week or so, I will put them away in strange locations: in cook books, random drawers, under things, etc. I like happening upon them later... it's like hiding reminders of love around the house. Some I haven't seen in years, but when I do there is always that "awwwww I remember that one" moment. No two are ever alike, and it is a fun time capsule of our friendship. Wishing each of you the opportunity to express and receive love this day and every day! Some of the creative problem solving inventions these days really are unique! I recently stumbled across this amazing new office product. It takes your used office paper and turns it into toilet paper! Check out the video to see for yourself. Thanks Rachel, at Interior Revolution for pointing this one out to me. NOTE: Rachel is running a give-away at the moment so go check out her very cool blog!
While we are on the topic of creative solutions... here's one just in time for that romantic holiday from Ask Umbra: eco lube and/or hair gel! My goofy husband has been asking for eco-jerry-curl for honkies. I think this just might be the answer to his odd request. |
www.HarmonyArt.com

Harmony Susalla
Founder of Harmony Art organic design. 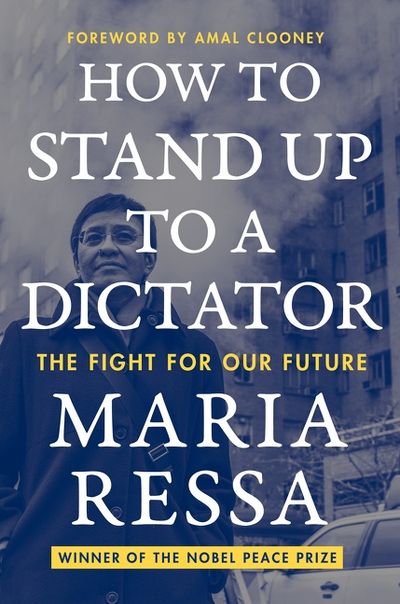
currently reading
 Archives
June 2022
Categories
All
|
|
© harmony art 2005-2024
|
Proud to be a member of:
|
Organic
Certified by IDFL 010655 |
 RSS Feed